
Nuts & Bolts – How to Manage Retail Orders Through a Shopify Storefront
[Read our full Nuts & Bolts series]
I’ve spent a fair bit of time figuring out the best way for us to manage direct retail orders. The process I used for our initial batch was e-mail, a spreadsheet, and Quickbooks invoicing. It was inefficient.

Our goal is to make ordering our games as easy as possible. Having a retail storefront allows us to easily and efficiently sell games directly to retail at a reduced rate. We’ve also streamlined the fulfillment process by tying our direct to retail storefront into our fulfillment center (Fulfillrite) processing.
In this article I’ll cover three methods of setting up a retail store through Shopify, two of which don’t require a separate storefront.
Creating a Product
In both methods, the first step is creating a new direct to retail product. We’re currently selling single cases of Nut Hunt (6 games) at 50% of MSRP.
You’ll have to coordinate with your fulfillment partner on how to do this within their system. With Fulfillrite it’s pretty straightforward – we just activated the Master Case option with a new SKU (see our article on creating SKUs).

On Shopify create a new product for the retail case. There are plenty of articles out there on creating Shopify products and storefronts, so I won’t go into detail on the process.
Make sure to enable the product to your Online Store and the Buy Now Button, set up shipping, and activate any markets you are selling into.
Method I: Create a Buy Now Button
This is the method I would recommend if you only plan on having a single game in your catalogue, and if you maintain a separate website. It’s a much easier process than setting up the retail case in your existing Shopify store.
To create a Buy Now Button make sure that the option is checked on your product page. Then, click on the Sales Channels menu (on the left of the screen), and select the Buy Button option.

You can create a Buy Button for a single product, or for a collection (which I’ll cover in the next section).
The benefit of a Buy Button is that you can embed it on your existing website. This allows you more flexibility in your design, and consolidates where the community interacts with you.
The drawback is that it is not an elegant solution if you plan on offering a broader catalogue of products. Shopify is well structured for hosting multiple SKUs, and allowing browsing of collections. So, if you are planning on publishing multiple games, this is not the method I would recommend.
Method II: Add a Retail Collection
Creating a retail collection allows you to sell a separate range of products from a single Shopify storefront. It has limitations in terms of flexibility, and may require some simplification of your storefront – but it is a good middle ground with which you can offer multiple product ranges without creating a second dedicated retail store.
This is the method that we are using. It’s a good option if you are planning on offering a couple of different products but aren’t too concerned over flexibility.
For instance, we are offering retail cases of Nut Hunt, and in the future will offer retail cases of Sigil along with cases of add on components (like neoprene mats). However, we don’t have near term plans to mix and match products by splitting cases.
Eventually we may want to go down that road, in which case we’ll use an alternate solution.
This method is more involved than just setting up a buy button, so we will take it in steps.
1. Create a Retail Collection
After activating retail cases with your fulfillment partner, and creating the retail case product in Shopify (which we cover above), you’ll need to create a retail collection. This collection can have multiple products (for instance if you offer more than one game, or other products).
To create the collection, on the left navigation menu go to Products => Collections.

You’ll want to create at least two collections, first for your direct to consumer products (i.e. single games), and second for your direct to retail products (i.e. full cases at a discount).
In the following steps we’ll be removing the option of consumers to access the retail collection on your online store.
2. Change the Featured Collection
I am going to assume that you’ve already created an online store. If not, it’s a pretty straightforward process. On the left menu navigate to Sales Channels => Online Store = > Themes. You can then pick a theme.

We’re using Dawn which is the basic recommended storefront.
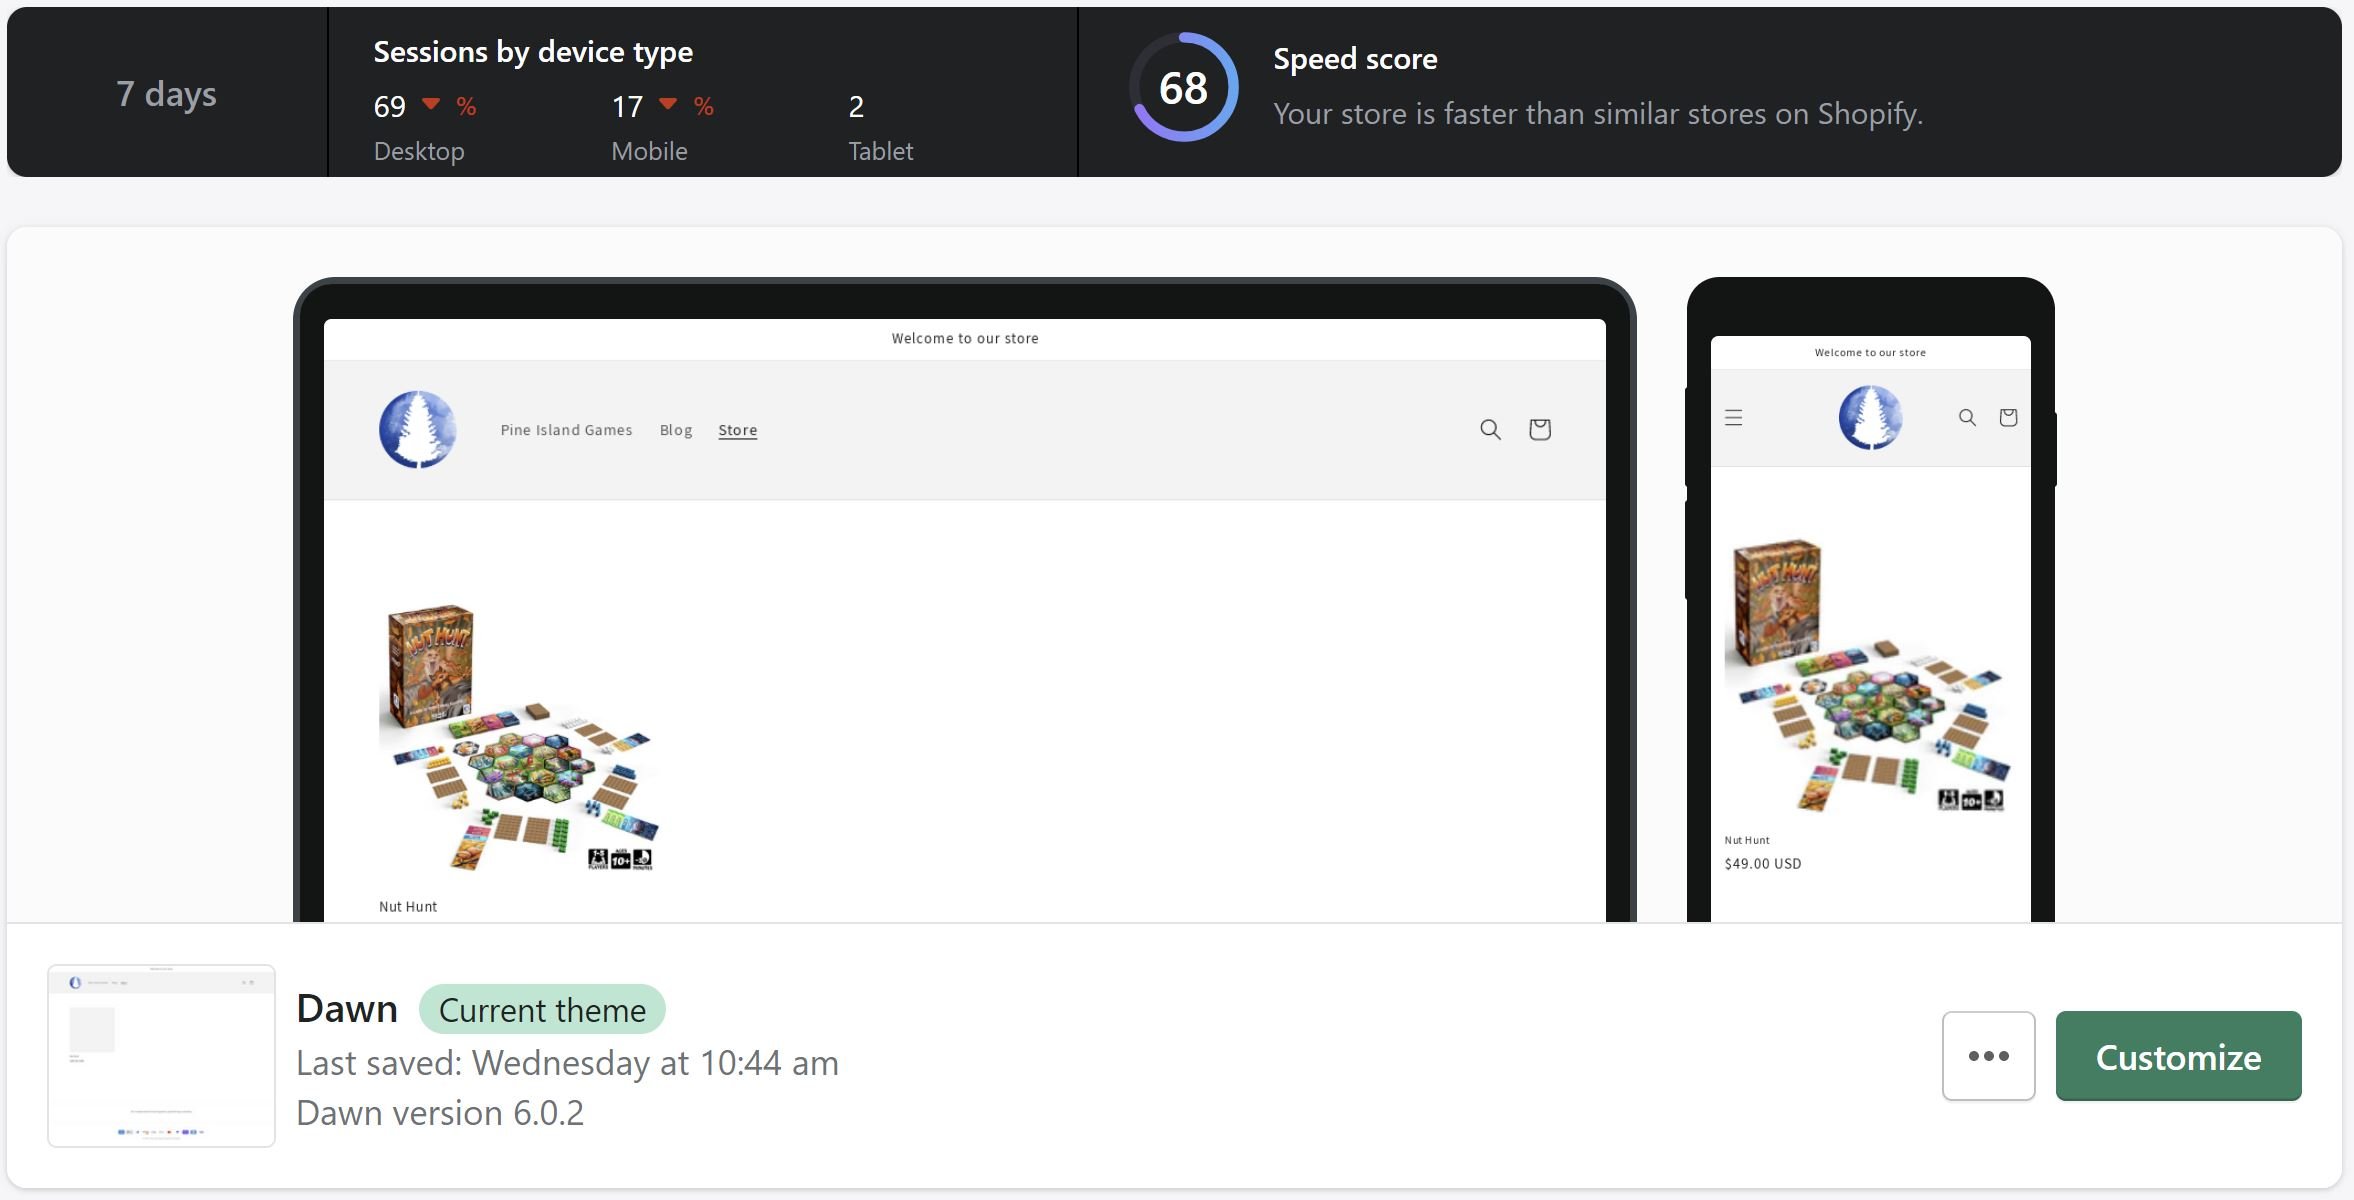
To edit your store, click on the Customize button.
Then use the left navigation bar to navigate to your homepage and change your featured collection to be your consumer collection instead of your retail collection.

3. Simplify the Header Menu
The Menu is the navigation header bar on your Shopify storefront. There are a number of default pages that you can include like a blog, contacts page, and collections page.

You’ll want to simplify your menu to remove extraneous pages, as well as the collections page which will link to all collections.
To edit the menu go back to the Shopify main page and then use the left navigation menu to navigate to Sales Channels => Online Store = > Navigation.
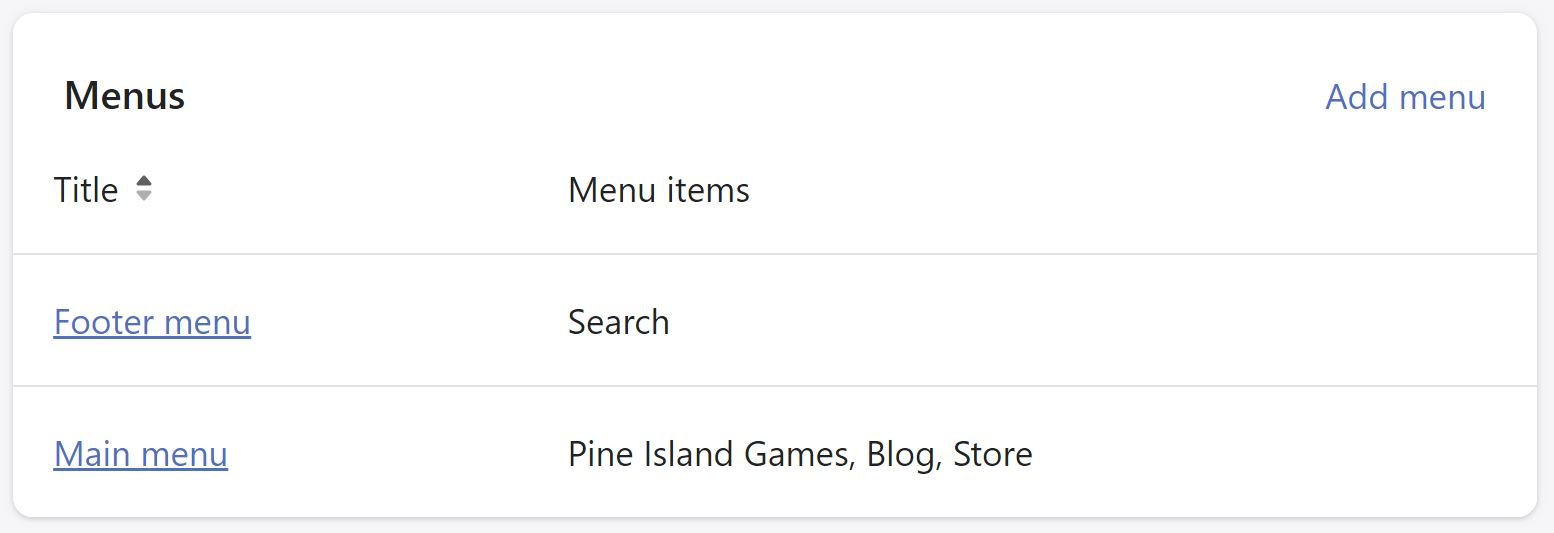
From here you can create a menu with only the pages you want, and you can create URL redirects. For instance the Blog link on our menu navigates back to this blog on our main website – rather than hosting the blog on Shopify. I suspect this has some SEO impacts, but we’d rather keep our pineislandgames.com URL as the primary landing page for our community.
To implement your new menu, go back to the website editing page, select the header option. You should see an option to change your menu.
4. Remove Recommended Products
This next step is to scrub your site of references to your retail collection.
To do this you’ll need to go page by page in your storefront editor and remove any Recommended Products sections, along with any other collections sections.
There may be a way to exclude specific collections from your recommended products – however I wasn’t able to figure it out.
Besides, this solution is for storefronts with a limited product catalogue, so there shouldn’t be too large an impact of removing some of the bells and whistles that direct consumers to additional products.
5. Redirect Continue Shopping Button
In the last step we removed direct navigation to any collection other than your featured collection. However, some pages will have buttons and links that still direct to your all collections page.
To redirect these links is a little bit annoying and requires fiddling with some code, but I promise it is doable without any coding experience (I have none, and managed to pull it off).
The first step is to explore where all the links on your pages go. Note down any pages with links that navigate to your all collections page, or your non-featured collection.
The biggest xxx for us was the various continue shopping buttons on our cart page (both at checkout, and for an empty cart).
Note down each page that has a link that redirects to anywhere other than your homepage.
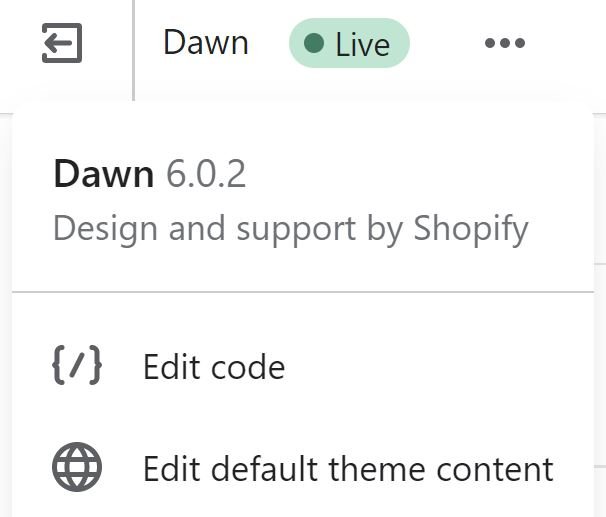
Before we move on to the next step, it’s a good idea to make a backup copy of your store. Back on the main Shopify page navigate to Sales Channels => Online Store = > Themes. Click on the three dots next to the Customize button, and select Duplicate.

This will create a backup of your storefront in case something goes wrong in the following steps.
Next, click on the Customize button. At the top of the page click on the three dots and select Edit Code.
You’ll see a navigation menu on the left. Use the search bar to find all instances of the pages that you need to edit. For instance Cart.

Open all the instances as we’ll be going through them one by one.
Shopify uses something called Liquid. I am not coder so don’t have a firm grasp on what this means from a technical perspective, but my laymans understanding is that it creates a library of their theme components. It also means that rather than links redirecting to URLs they will redirect to defined pages in the liquid library.
In our case we want to change any code that links to “all_products_collection_url” to “root_url”.
For instance, instead of having the Continue Shopping button link to a page with all or our collections, we want it to link back to our storefront’s homepage which is represented in liquid with the “root_url” tag.
To find these links to redirect, go through each of the pages that we opened before (i.e. each Cart page), and use the ctrl+f or cmnd+f function to search for “a href”.
“a href” is html code that creates a hyperlink. In this case, the hyperlink in any buttons.

Then just change all instances of “routes.all_products_collection_url” to “routes.root_url”.
After you finish redirecting all of the hyperlinks, go back and poke around your storefront to make sure you can’t find anymore unintended redirects (and check that everything still works).
6. Generate a Retail Link
We’ve now scrubbed our page of all links to our retail collection.
The collection is still supported through our storefront – but we need to create a link to share with retail customers so that they can access our retail collection.
To create the link go back to the menu editing page, that is Sales Channels => Online Store = > Navigation on the Shopify homepage.
Edit the menu that you created to add in a tab for your retail collection.
Give Shopify a couple minutes to update, and then navigate to your storefront. Navigate to your retail collection page and save the hyperlink.
Then go back to menu and remove the retail collection from your navigation menu.
You now have a direct link to your retail collection to share with retail customers, but your Shopify storefront no longer has any direct links to your retail collection.
7. Turn on Order Approval
The whole point of this method is to create a place where our brick and mortar retail customers can easily buy directly from us in bulk. There are no passwords, just a single link that will direct them to all of our retail offerings.

The issue is that it is possible for non-retail customers to dig up the link, especially if they are familiar with how Shopify is structured.
The easiest way to prevent non-brick and mortar retail customers from buying retail cases is to turn on order approval.
We chose to do this at our fulfillment center level where orders of a specific dollar amount require our manual approval. If we see a non-brick and mortar retail customer trying to buy retail cases of Nut Hunt, we can easily cancel the order.
Method III: Create a Separate Store
A final method is to create an entirely separate Shopify store. This is an easier method than option II but has a number of drawbacks:
Necessitates managing two storefronts
Requires a higher (and more costly) subscription tier
The main benefit of a separate storefront is that you can offer additional flexibility for retail customers looking to mix-match product offerings. For instance some mid-sized games publishers offer retail pricing & free shipping to stores ordering $200+ of product – and stores can mix & match games from their catalogue.
This may be an option that we eventually pursue, but doesn’t yet make sense at our current size and with a limited catalogue.
How are you planning on managing retail orders for your games?