
A Closer Look at Our Components
We received our Manufacturer Production Copy (MPC) for Nut Hunt over the weekend. It looks great.
I figure this is a good opportunity to both show off some components, as well as talk a little about our considerations around them.

Before we dive in, I want to give a special thanks to some of the people who helped make the physical version of Nut Hunt possible:
The team at Meijia – who did an excellent job, manufacturing, and assembling the game.
Christine Santana – who did our graphic and component design.
Stephen Nickel – who is our expert illustrator.
Matt Healey – who designed our box insert.
Overview of the Manufacturing Proces
When you hire a manufacturer, you are not only contracting them for their in house capabilities, but they are also a project manager who will source various components from partner facilities. See our article on Industrial Clusters & Board Game Manufacturing for more information on how manufacturing is organized in China.

If you are in the process of finding a manufacturer see our guide: How to Find a Manufacturer.
After you find a manufacturer, and before you contract them for manufacture, you can order what is called a Manufacturer Prototype. This is a high quality prototype made with the materials, and finishes that will be used in the final copy. The main difference is that printed components will be laser printed, instead of inline (they aren’t going to shut down a whole production line for 5 games).

These prototypes are a great way to check out component quality, proof components, and to use for a review and preview campaign for a Kickstarter.
Once you sign off on your manufacturer, and send them a deposit, the manufacturing process follows these steps:
File Proofing – all of your files are digitally proofed. If you ordered a manufacturer prototype, this step may have already been completed.
Tooling – molds are ordered for any custom components.
Components – your manufacturer fabricates in house, or sources components from other facilities.
Printing – Printed components are run.
Assembly – All the bits go in the boxes.
Packing & Freight – Games are packed, palletized (if you are using pallets), and sent to port (if you are taking delivery FOB rather than ex work).
Between steps 4 & 5, your manufacturer will assemble and mail you a manufacture production copy (MPC) with all of the final components. This is your final sign off before games are assembled and packed. It’s your last chance to make any changes.
We just signed off on our MPC, meaning that Nut Hunt is moving ahead to assembly. Let’s take a closer look at some of the components and our considerations around them.
The Box
For detail on printed components, techniques and considerations, see my write up: Printing Techniques & Finishes – Boards & Boxes.
Our box is 295 x 238 x 60mm. We originally planned for an 80mm deep box. Shortly before the campaign launch, we re-designed the box & insert to 60mm depth in order to save on freight.

Technical specifications: telescoping box. 157 gsm art paper + 1.5 mm greyboard. 4C/0C printing. Matte varnish.
Box Insert
The box insert is our third iteration of design. Our first iteration was designed to accommodate an 80mm deep box, and could house the cards on end.
Our second iteration (which is the first we printed for our prototypes) adopted the slanted card tray, but had 6 small wells instead of the one large rectangular well for bits. It was also a little too tall alongside our punchboard.

There are a few kinds of molds you can use for a vacuum tray insert. The most common is an aluminum mold which can accommodate limited detail, and is good for medium sized print runs.
Some applications may require copper or even steel molds depending on the print run size, and level of detail (iconography, or a logo may require a more expensive mold.
Best practice: make sure your insert fits sleeved cards.
Tiles
Here are some of our hex tiles. They are 2mm punchboard. Standard punchboard is 1.5mm, but we decided to upgrade them for a more premium feel.
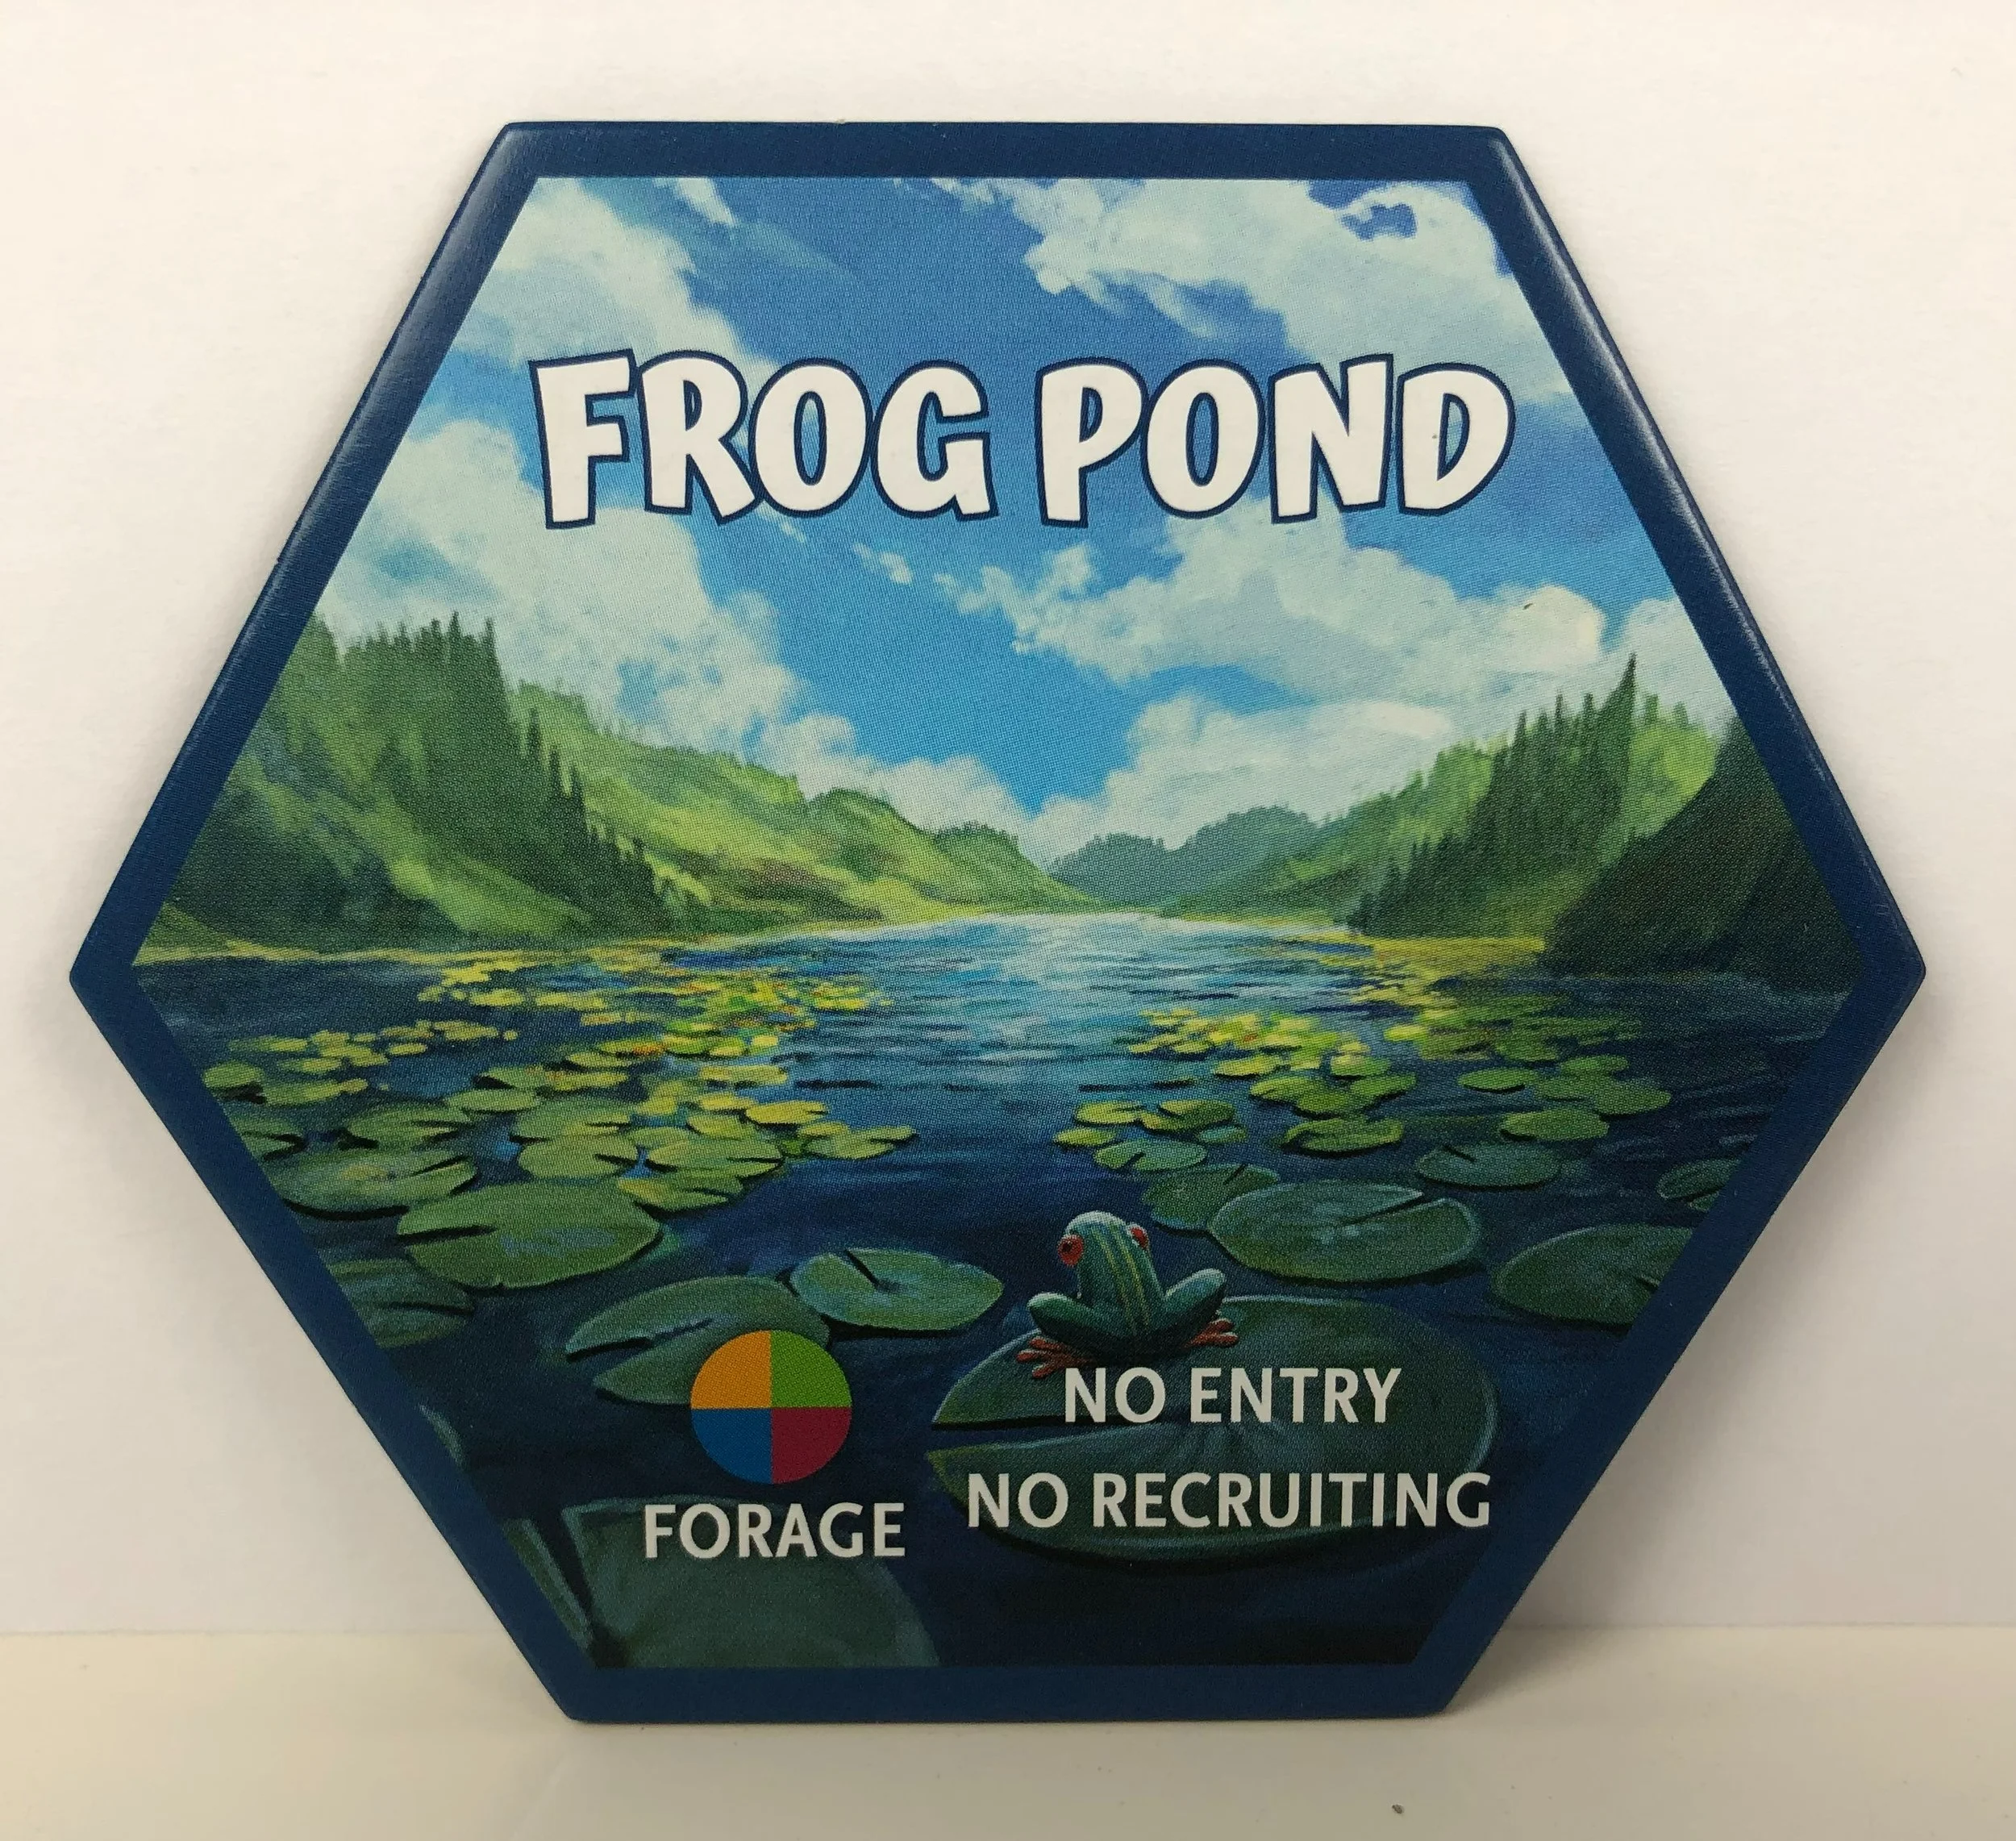
Many of the place names in Nut Hunt are named after places near my childhood home. Steve re-interpreted them in his own mind’s eye.
Best practice: use a matte finish for game components as it reduces glare and increases readability at the table.
Technical specifications: 2mm chipboard. 4C/4C printing. Matte varnish.
Cards
It was really important to me that Nut Hunt accommodates 5 player games. The design works seamlessly up to that count, and the use case of a family and gateway weight game means that a lot of groups of 4-5 players are likely going to check it out.
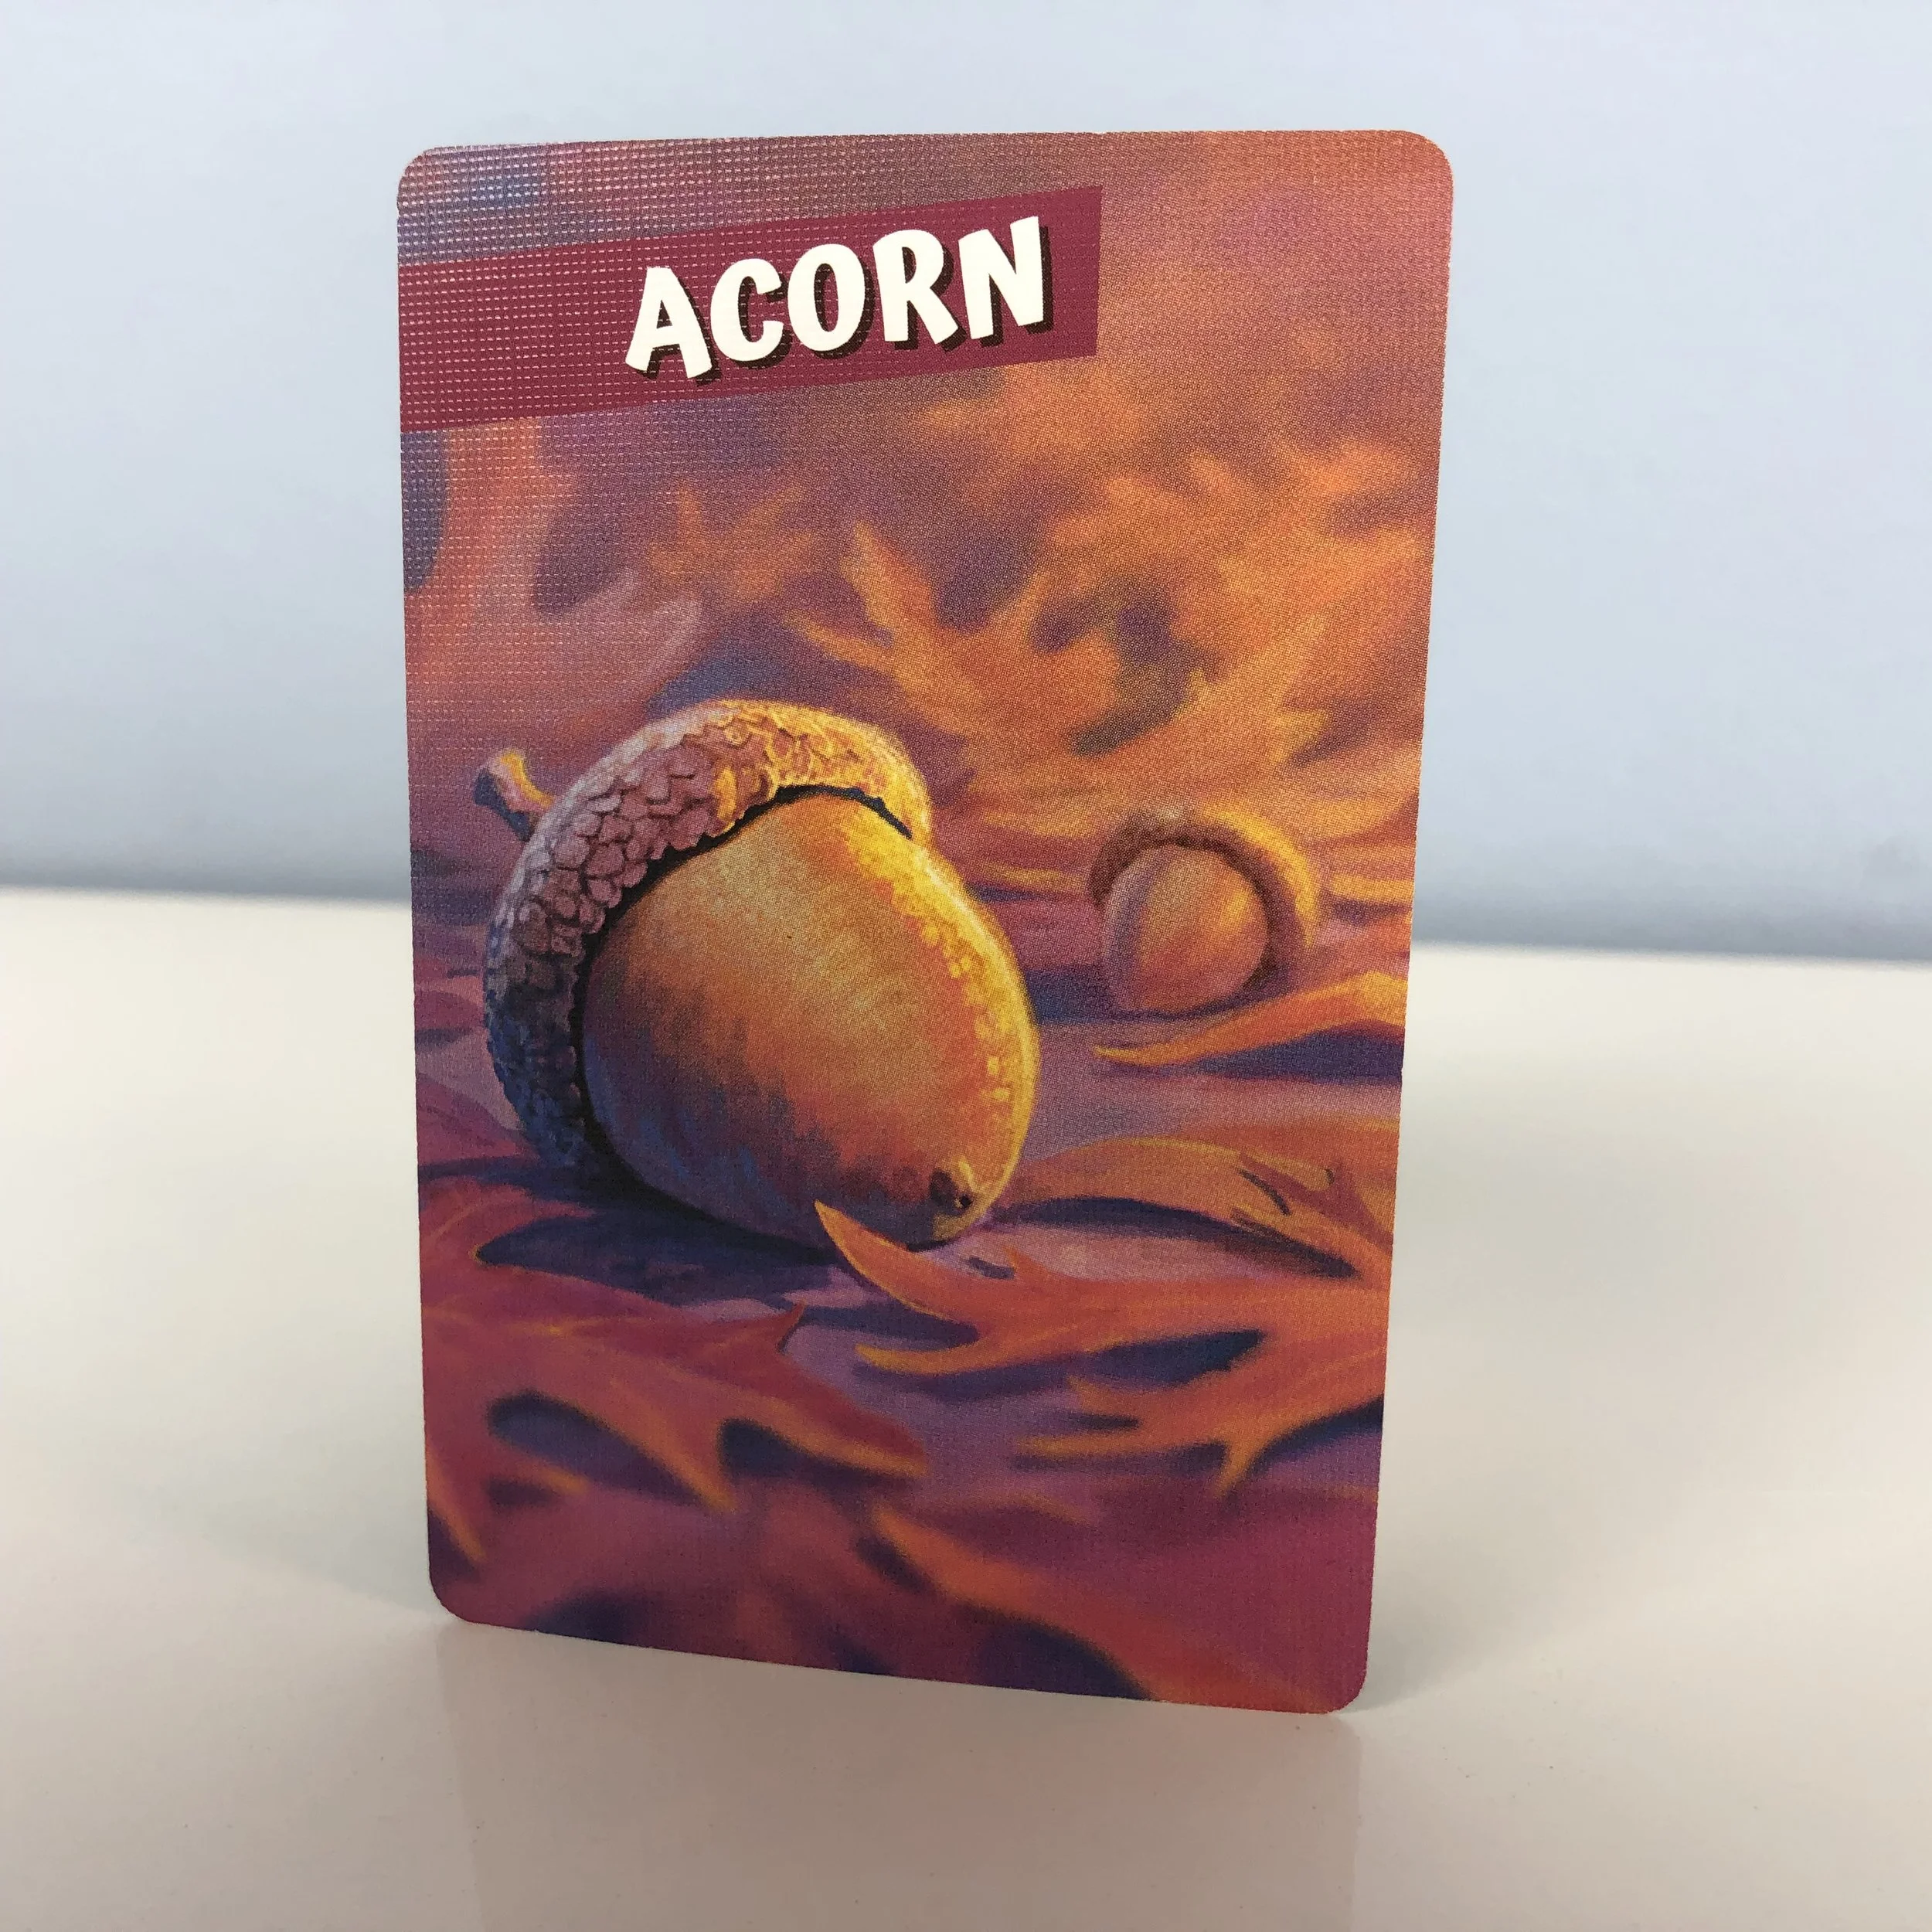
Linen finish is a texturing applied to wet varnish on printed components. Historically it was created by rolling sheets under linen rollers. Although they no longer use linen rollers, the term persists. You can see the texturing in the right light (like this image).
The game uses bridge sized cards which are typically printed on sheets of 60. At 4 players we could get away with 120 cards (2 sheets), but had to expand to a third sheet and a comfortable 150 cards for 5 players.
It increased our cost, but I think it’s worth it.

We tried a lot of different iconography for the route score, and ultimately settled on the flavorful paw.
I wrote an in depth article on the anatomy of playing cards and finishes: The Anatomy of a Card. If you like dorking out about game components, then it is definitely worth the read.

I’ve always been a big fan of tilings, like the patter Christine made for our objective cards.
Best practices: use easy-peal wrapping. When possible utilize entire sheets of cards.
Technical specifications: 310 gsm black core stock. Bridge size (57 x 87 mm), 2 mm round corner. 4C/4C printing. Linen finish.
Rulebook
Last week I shared my best practices and tips for writing a great rulebook: How to Write a Great Rulebook.
Best practice: make it as long as it needs to be.
Technical specifications: 279 x 432 – open, 279 x 216 – folded. 128 gsm paper. 4C/4C printing. Gloss.
Meeples!
There are two ways to make meeples:
Machine cut loaves of meeples, and then slice them into the appropriate thickness.
Laser cut sheets of wood.
Laser cutting is slightly more costly, than machine. The constraining factors are level of detail, and whether there are enclosed areas cut out. Our meeples were machine cut.

It was important to us that each color have its own squirrel meeple.
In either case, the meeples are then put into tumble painters (which look like what they make kettle cooked potato chips in), and then if required, screen printed.

Best practice: get prototypes made of your meeples to shape, as it can be hard to get a feel for the components from digital proofs.
Technical specifications: since they are all various shapes and sizes, I’m linking the production pdf - here. These are our IP, so please do not distribute the designs, or reproduce them for commercial uses. Personal use (i.e. you want to 3d print an army of squirrels) is fine.
The Fox Die
For those of you who have been following along, you’ll know of the saga of the fox die. This is our third iteration of dice… and we have 4,000 generation two dice getting freighted stateside with the games.
I’m excited to unveil our final fox die!

Best practices: upgrading to a custom mold, or (as we did) using interesting blends and colors, are good and not bank-breaking ways to add a delux feel to your game.
Technical specifications: 16mm rounded corners with pips. Orange + clear orange + white + marbled effect.
Stretch Goals
We also have a couple of cool stretch goals: a cloth meeple bag (screen-printed with the fox), and a sticker sheet.

These will only be included with our first print run.
Technical specifications: Bag: cotton with drawstring. 1C + 2C screen printing. Stickers: vinyl.
Other Best Practices
Aside from the best practices above, it’s also worth calling out a couple of other items that are small but important.
Include a couple of extra plastic baggies, and request small holes be punched in them so that they don’t balloon.
Make sure that the box shrink wrap seam is not on the bottom of the box. This is important for retail display.
Bits should be sorted. In our case, the game comes with the meeples pre-sorted by color.
What games have your favorite components?